2026 Best LED Panel Lights How to Install in Drop Ceilings?

Time:2026-11-11 Author:Charlotte
0%

Drop ceilings make LED panel upgrades look simple. A 2-by-2-foot or 2-by-4-foot panel can sit neatly in the grid, replacing an older fluorescent troffer. Yet a clean fit is only part of the job. The installer must check ceiling dimensions, panel weight, driver compatibility, wiring, and independent support requirements. Small details matter. A misaligned frame can leave a visible gap; unsupported wiring can create a service problem later.

The U.S. Department of Energy reports that LEDs use at least 75% less energy and last up to 25 times longer than incandescent lighting. That broad comparison is not a promise of equal savings for every ceiling project, but it explains why efficient lighting remains a practical upgrade. ENERGY STAR guidance also emphasizes choosing products that meet recognized efficiency and performance criteria. This guide will show how to install led panel lights in a drop ceiling, from measuring the opening to testing the light after connection. Expect practical checks, not shortcuts: switch off power at the breaker, follow the panel manufacturer’s instructions, and use a qualified electrician when wiring falls outside your experience. One limitation: no source articles were provided, so a named expert’s quotation cannot be verified without risking a fabricated attribution.
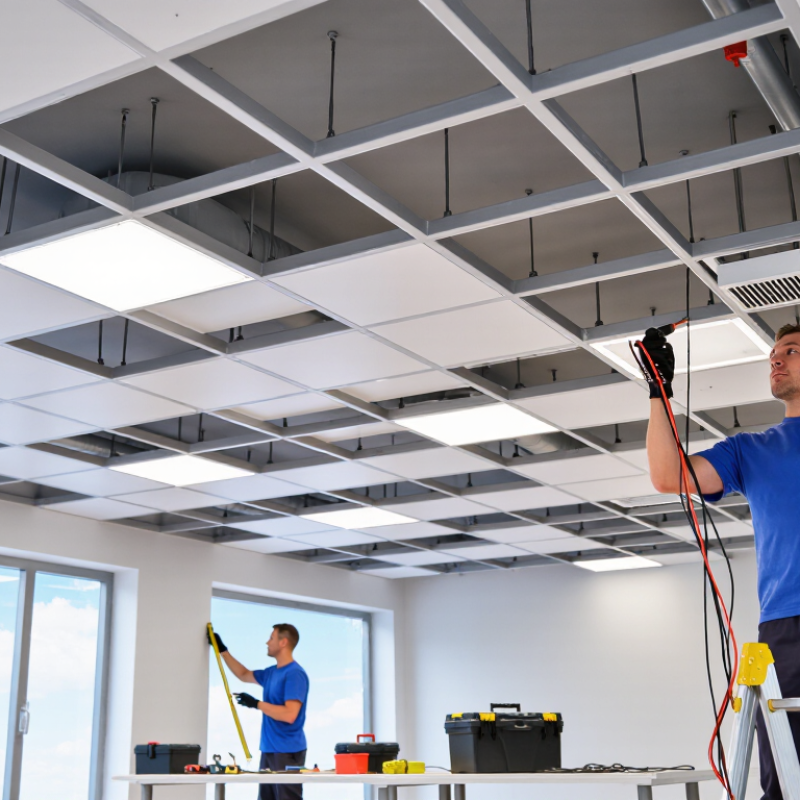
2026 Best LED Panel Lights How to Install in Drop Ceilings?

How to Choose the Best LED Panel Light for a Drop Ceiling in 2026

Choosing the best LED panel light for a drop ceiling starts with the ceiling grid. Measure the opening, not just the visible tile. Common panel sizes include 2-by-2 and 2-by-4 feet, but older grids may vary. A panel that almost fits can leave uneven gaps or sit poorly. Measure twice.

Next, match brightness and light quality to the room. Compare lumens rather than watts, since watts describe energy use, not light output. Offices often benefit from even, low-glare illumination, while kitchens may need brighter task lighting. A color temperature around 3500K to 4000K gives a neutral appearance; warmer light can feel more comfortable in relaxed spaces. Check the driver. If you need dimming, confirm that the panel and wall control are compatible. A high color rendering index can also help colors look more natural.

Check the ceiling conditions before buying. Look for a panel rated for the room’s moisture level, and verify its listed electrical and safety information. For a quiet office, consider driver noise and flicker performance, too. They are easy to overlook. One common mistake is choosing the brightest option without considering glare; a bright desk is not always a comfortable one. If wiring or support details are unclear, ask a qualified electrician to review the installation requirements.

Which Panel Size and Mounting Style Fits Your Ceiling Grid?

For a drop ceiling, match the LED panel to the grid opening, not just the room’s ceiling tile size. Common nominal formats include 2-by-2-foot and 2-by-4-foot panels, but actual dimensions can vary. Measure the clear opening between the T-bars, then check the panel’s cut sheet for its exact outer dimensions. Small differences matter. A panel that is too wide may sit unevenly or press against the grid; one that is too small can leave visible gaps.

A lay-in panel is usually the simplest fit: it rests on the T-bar ledges in place of a ceiling tile. Before choosing it, check that the grid is level and can support the panel’s weight. Also confirm there is room above the ceiling for the driver, wiring, and ventilation. Do not guess. Surface-mount kits suit solid ceilings better than open grids, while suspended mounting is useful when panels need to hang below the ceiling plane. For either option, follow the fixture instructions and secure the panel as specified. Turn off power before electrical work, and ask a qualified electrician if wiring is unfamiliar. One detail worth rechecking: older grids may look standard but have slightly different openings.

What Tools and Safety Checks Are Needed Before Installation?

Before lifting a panel into a drop ceiling, gather a stable step ladder, insulated screwdriver, voltage tester, tape measure, gloves, and eye protection. Keep the work area dry and clear. Turn off the lighting circuit at the breaker, then verify the conductors are de-energized with a tester. A wall switch alone is not enough. OSHA electrical-safety guidance calls for checking that circuits are de-energized before work begins.

In its 2023 fatal-injury data, the U.S. Bureau of Labor Statistics recorded 885 deaths from falls, slips, and trips across all industries. That figure is a sober reminder to position the ladder on level flooring and avoid overreaching.

Measure the ceiling opening and inspect the T-grid for bent sections, loose hangers, or water damage. Confirm that the panel’s weight and mounting method suit the ceiling structure; do not assume the grid can carry extra load. Check for ducts, pipes, and wiring above the tile before cutting or moving anything. Lift the fixture with a helper if it is awkward, and support it independently where the installation instructions require. Keep wires out of sharp edges, secure connections inside an approved enclosure, and restore power only after the panel is seated and the area is clear. I still find ceiling cavities easy to underestimate; a quick look rarely reveals every obstruction.

How to Install and Wire an LED Panel Light Step by Step

Before touching the ceiling, confirm the panel dimensions match the ceiling grid and read the fixture’s wiring diagram. Switch off the circuit breaker, then use a suitable tester to verify that power is off. Do not rely on the wall switch alone. If you cannot identify the conductors confidently, stop and hire a qualified electrician.

Lift out one ceiling tile and check the opening before moving the panel into place. Set the panel into the T-bar grid, and attach safety cables where the instructions or site conditions require them. Never let a fragile tile carry the fixture’s weight. With power isolated, connect the driver’s line, neutral, and ground leads to matching supply conductors using approved connectors. Plug the driver output into the panel as directed. Keep the driver accessible and allow space around it for ventilation. The U.S. Department of Energy’s Energy Saver guidance says LEDs use at least 75% less energy and last up to 25 times longer than incandescent lighting.

Restore power and check for even illumination, flicker, or unusual noise. If anything seems wrong, switch off the breaker before inspecting the installation. The grid may look square, but small alignment errors show once the panel lights. I still double-check. A rushed measurement can mean taking the panel back down.

How to Test the Panel and Check the Finished Ceiling for Safety

After the panel is seated, restore power and test it from the wall switch. Check for steady, even light across the diffuser. Watch for flicker, delayed startup, buzzing, or a burning smell; switch the circuit off if any appear. Let the light run for ten minutes, then look for discoloration or a warm spot around the ceiling grid. Do not touch exposed wiring or a powered fixture. No guesswork.

NFPA’s Electrical Fires report estimates about 32,620 U.S. home structure fires per year involved electrical failure or malfunction during 2015–2019. That figure is a useful reminder to inspect the connection, not just the glow. With power off, confirm that no copper is exposed, connectors are secure, and the panel is supported as its installation instructions specify. Check that tiles sit flat and the grid has not bowed. DOE reports that LEDs use at least 75% less energy and can last up to 25 times longer than incandescent lighting, but efficiency does not excuse a poor fit. A small gap can remain easy to miss. If the breaker trips or the panel behaves inconsistently, leave it off and have a qualified electrician inspect the circuit.

FAQS

How should I measure a drop-ceiling opening for an LED panel?

Measure the clear space between the T-bars, not just the ceiling tile. Check the panel’s exact outer dimensions. Measure twice.

Which panel sizes are common for drop ceilings?

Common formats are 2-by-2-foot and 2-by-4-foot panels. Older grids may differ slightly, so verify the opening before choosing.

What mounting style works best with a drop ceiling?

A lay-in panel usually rests on the T-bar ledges in place of a tile. Check the grid’s level and weight support. Don’t guess.

How bright should a ceiling panel be?

Compare lumens, which describe light output, rather than watts. Offices may need even, low-glare light; kitchens may need brighter task lighting.

What color temperature suits different rooms?

Around 3500K to 4000K gives a neutral look. Warmer light may feel more comfortable in relaxed spaces. Preferences vary.

What should I check before buying a panel?

Check room moisture ratings, electrical and safety information, driver noise, and flicker performance. Confirm dimmer compatibility if you need adjustable light.

How can I check the panel after installation?

Restore power and check for even light, flicker, buzzing, or delayed startup. Let it run for ten minutes. Watch for warm spots.

What should I do if the panel or wiring seems unsafe?

Switch off the circuit if you notice a burning smell, exposed copper, or a tripped breaker. Have a qualified electrician inspect it. Don’t touch powered wiring.

Conclusion

Choosing the best LED panel light for a drop ceiling in 2026 starts with matching its dimensions to the ceiling grid, selecting a suitable mounting style, and checking that the panel and driver are compatible with the intended space and power supply. Before starting, gather the necessary tools, inspect the ceiling structure, and switch off power at the circuit breaker. Use appropriate protective equipment, and consult a qualified electrician if you are unsure about any wiring or safety requirement.

To understand how to install led panel lights in a drop ceiling, carefully lift a ceiling tile, prepare the opening or support as required by the panel design, and position the light securely within the grid. Connect the driver and wiring according to the product instructions, keeping connections enclosed and supported, then restore power to test the panel. Finish by checking that the light operates properly, sits level, and leaves the surrounding tiles and ceiling grid stable and safe.

Charlotte

Charlotte

Charlotte is a seasoned marketing professional with a deep understanding of the company's portfolio and a passion for elevating its presence in the market. With a keen eye for detail and a commitment to excellence, she ensures that our professional blog is regularly updated with insightful articles......